One of the many benefits of being my co-worker is that I sharpen kitchen knives to a hair-splitting quality on request, no matter how beat up or crummy the knife is. Sharpening knives is a source of relaxation, a meditative process for me. I own only a few knives myself, so I constantly ask my co-workers and friends for knives to sharpen.
I can track my fascination with sharpening back to the Soviet Union, to the period in 1988, during Perestroyka, when we got a glimpse of foreign TV shows. As a part of “opening up” instad of the usual 3 channels with nothing on we got a major treat – several “weeks of foreign TV.” The show that stuck in my mind forever was from the week of Japanese TV. There was a one or two hour segment about Japanese craftsmen that paired people who made tools with people who used them. There was a segment about a maker of fishing rods and a fisherman and maybe a few other segments. The one segment that shocked me was about a sharpening specialist.
The point of the segment was to bring one of the best Japanese sharpening stones to a sharpening specialist and see what he could do with it.
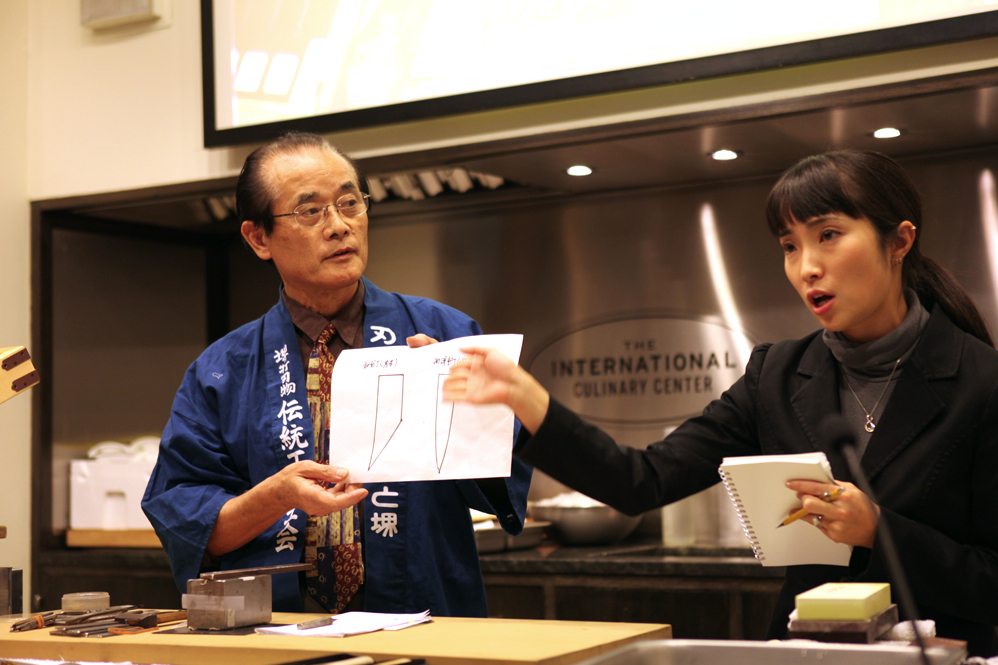
Japanese blade technology and sharpening methods developed separately from the European ones. Japanese blades are ground to have a complex asymmetrical geometry with one convex side and one flat/concave side. This flat side allows for a level of sharpness similar to a double concave geometry found in European-style razor blades (which are impractical for anything other than shaving), while making the resulting blade much more sturdy. Thousands of years of trial and error also found the ultimate tool for sharpening Japanese steel – a range of soft sedimentary stones formed under tremendous pressure in ancient mountains. There are man-made sharpening stones made of clay, various oxides, and even diamond dust, but the grain size is too consistent – for a variety of reasons nothing can beat a high quality natural stone.
In the TV show that I mentioned earlier they went to a producer of very high quality stones 1. Natural stones that are large enough and don’t have any inclusions of wrong minerals are rare and expensive. A top quality stone might cost many thousands of dollars, maybe even tens or hundreds of thousands 2. The stone merchant/manufacturer produced a family heirloom – a huge and priceless top quality stone which was taken to the sharpening specialist.
The sharpening specialist was amazed at the quality of the stone. He spent a while examining it and making a fuss about the size and the quality. Then he said that he would sharpen a plane blade so that the wood shaving taken with the plane would be completely transparent, only a few micrones thick. He used a series of rougher stones 3 and then switched to the super-stone. Before he started, he needed to prepare it. He used a smaller stone to build up a slurry, and after a while the surface of the large stone became so smooth that the small stone stuck to it and had to be removed with the help of a splash of water. The molecules of the two stones actually intermingled and were held together by Van der Waals force.
Then the craftsman sharpened the plane blade to the point that the flat side of it stuck to the stone the same way the small stone did before. Molecules of metal seeped into the super-flat surface of the stone, and again the craftsman had to splash some water on the blade to separate it from the stone.
The knife was placed into a plane, and the resulting wood shaving was transparent: you could read a newspaper through it. But the craftsman was not satisfied – he resharpened the knife again, and took off an even thinner shaving.
Many years later I purchased a set of Japanese waterstones and a few Japanese knives. I also bought a Western book about Japanese waterstones that was full of misinformation. I only learned how to use the stones properly when I started working at 7 World Trade Center. There is a small restaurant supply store called Korin that is partially owned by a master knife sharpener, Mr. Chiharu Sugai. He has a full sharpening workshop set up in the store and sells a DVD about sharpening. Only after watching the DVD and watching Mr. Sugai work during my lunch break did I get a bit better at sharpening with water stones.
I don’t have a workshop, but I have a healthy collection of man-made stones (same ones that Mr. Sugai uses). I use a wooden board that fits over the sink to rest the stones on, which is easier for me than sitting correctly. These days I can sharpen a knife to a point where it can split a hair held by one end. My technique is far from perfect, but I am getting better. Sharpening provides an extremely calming activity for me, there’s something meditative in ultra-precise repetitive motions that require a lot of focus.
I think the source of my fascination with sharpening is philosophical. You start out with a piece of metal that isn’t that sharp and a piece of stone that is completely dull, and through a very precise set of actions produce a piece of metal that has an edge only a few microns thick that is capable of breaking inter-molecular bonds, of cleaving solid matter.
Having a well-sharpened knife in the kitchen is amazing. I personally believe that it’s not only easier to cut food with a sharp blade, and not only food cut cleanly looks better, but also that it tastes better. A salad cut with a sharp knife is somehow tastier, and so is meat and fish.
The old bromide about a dull knife being more dangerous than a sharp knife is only partially true. A sharp blade is very dangerous and needs to be treated with respect. If you’ll place a sharp knife into a sink and then reach for it with your hand you’ll get a deeper cut. If you force it past a tough vegetable into your hand you’ll also get a worse cut. The thing is, if you do dumb things with any blade you’ll get hurt, and a sharp blade with cut better. But sharp blades inspire respect: you will simply stop doing stupid things like leaving them in sinks or cutting towards any appendages that you want to keep. 5.
*****
1. These are known as “tennen toishi” – “natural sharpening stones”.
2. I don’t remember prices quoted, but I have not personally encountered a stone worth more than $8,000. The point is that large natural stones are way expensive.
3. Thre are many grades of stones based on their grits, but three main categories: ara-to (rough), naka-to (medium), shiage-to (finishing). The large stone was a very high quality shiage-to.
4. The small stone is known as “nagura”.
5. You really should watch Jamie Oliver explaining knife skills.
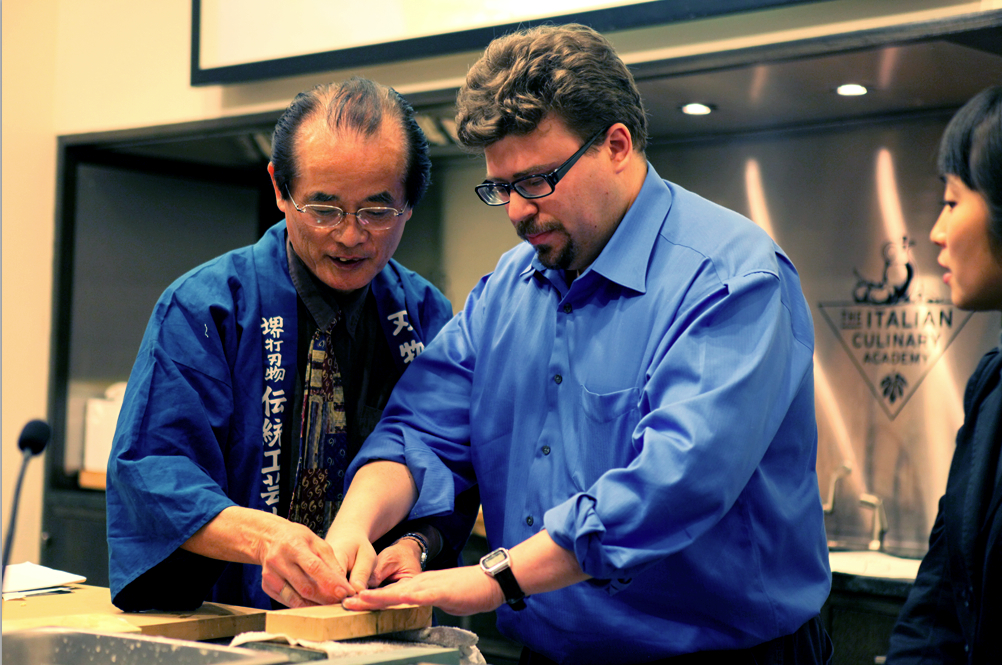
Here I’m getting a little tutorial my Mr. Shotaro Nomura of Sakai City at CIA event organized by Korin
Mr. Nomura demonstrates the difference between a Japanese-style and Western-style blade geometry (in a very simplified schematic)
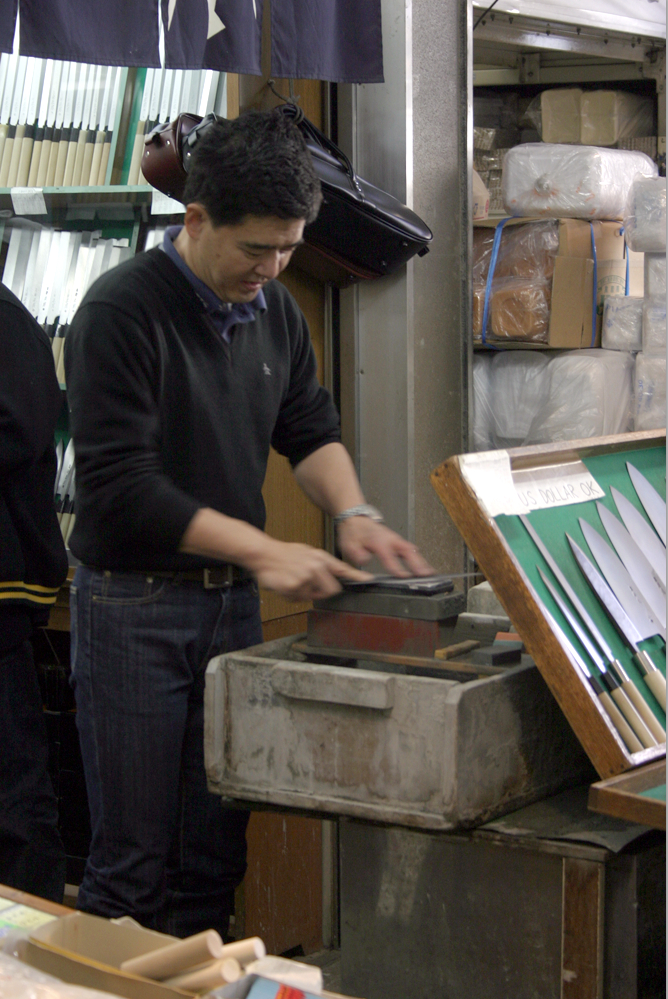
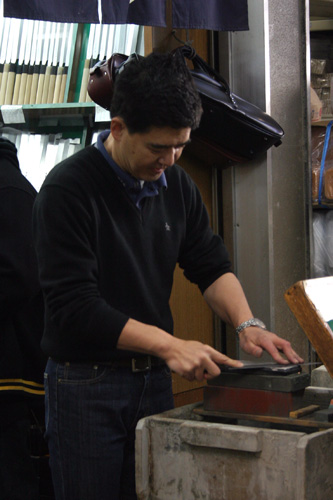
A knife sharpener in Tsukiji fish market – he has a standing setup similar to mine
